


Integrating Large Language Models (LLMs) with traditional data analysis tools presents a new approach to data handling. In this mini project, we share with you how you can build an app of this integration. It allows users to engage with their data sets through natural language queries. This approach simplifies the process of data analysis, making it more accessible to a wider range of users. The app bridges the gap between complex SQL queries and user-friendly data interaction, offering a straightforward way to analyze and visualize data.
The app allows users to upload their own data sets, or use a sample data set provided. Users can then interact with the data set through natural language queries.
Dataset: Click the SAMPLE DATASET button to load a sample csv file, or upload your own content by dragging a file to the drop area. You may also clear the loaded data by clicking the Clear Dataset button.
Number of preview rows: Input the desired number of preview rows to be displayed.
Interaction: You may ask the chatbot natural language queries like : top 20 rows of table, unique values of column with counts, etc.
Data visualisation: Visualize your data on the fly. Currently, the app supports histogram and box plot on a specific column, e.g., histogram on column.
Export Results: The app allows you to export the charts, or query results.
The complete code can be found in the GitHub repository.
The application development process can be divided into three stages:
The application combines
SQLAlchemy for database interactions and sql modules for running SQL statements and inspecting tables.openai Python library is used to interact with GPT-4, enabling natural language processing. The function sends prompts through the ChatCompletion.create class and processes the responses.The application uses solara, a web framework, to build an interactive UI. It includes components like FileDrop for uploading CSV files and solara.reactive for reactive state management.
The application is packaged into .py scripts, and initialized as a Dockerized application through the command line using the Ploomber-cloud CLI. The app is deployed on Ploomber Cloud, a platform for deploying and managing data science projects. The platform offers a simple way to deploy and manage data science projects, with features like automatic deployment through actions, dashboard monitoring and secret management.
We will use the Ploomber Cloud CLI to deploy the app. The CLI is a command-line interface for deploying and managing data science projects on Ploomber Cloud. It allows you to deploy your project with a single command, and then manage it through the dashboard. The CLI is available as a Python package, and can be installed using pip:
pip install ploomber-cloud
You will need to create an account and an API key:
ploomber-cloud key YOUR-KEY
Once installed, you can use the CLI to initialize your project:
ploomber-cloud init
Through the CLI you can choose the type of application. Let’s choose docker. This will create a JSON file containing the ID (assigned by Ploomber Cloud):
{
    "id": "APP_ID",
    "type": "docker"
}
This will create a new directory with the following structure:
.
├── app.py
├── Dockerfile
Modify the Dockerfile as follows:
FROM python:3.11

COPY app.py app.py
COPY chat.py chat.py
COPY static/ static/
RUN pip install git+https://github.com/ploomber/jupysql.git@master
RUN pip install requests solara pandas duckdb duckdb-engine matplotlib
RUN pip install openai==0.28


ENTRYPOINT ["solara", "run", "app.py", "--host=0.0.0.0", "--port=80"]
ploomber cloud deploy
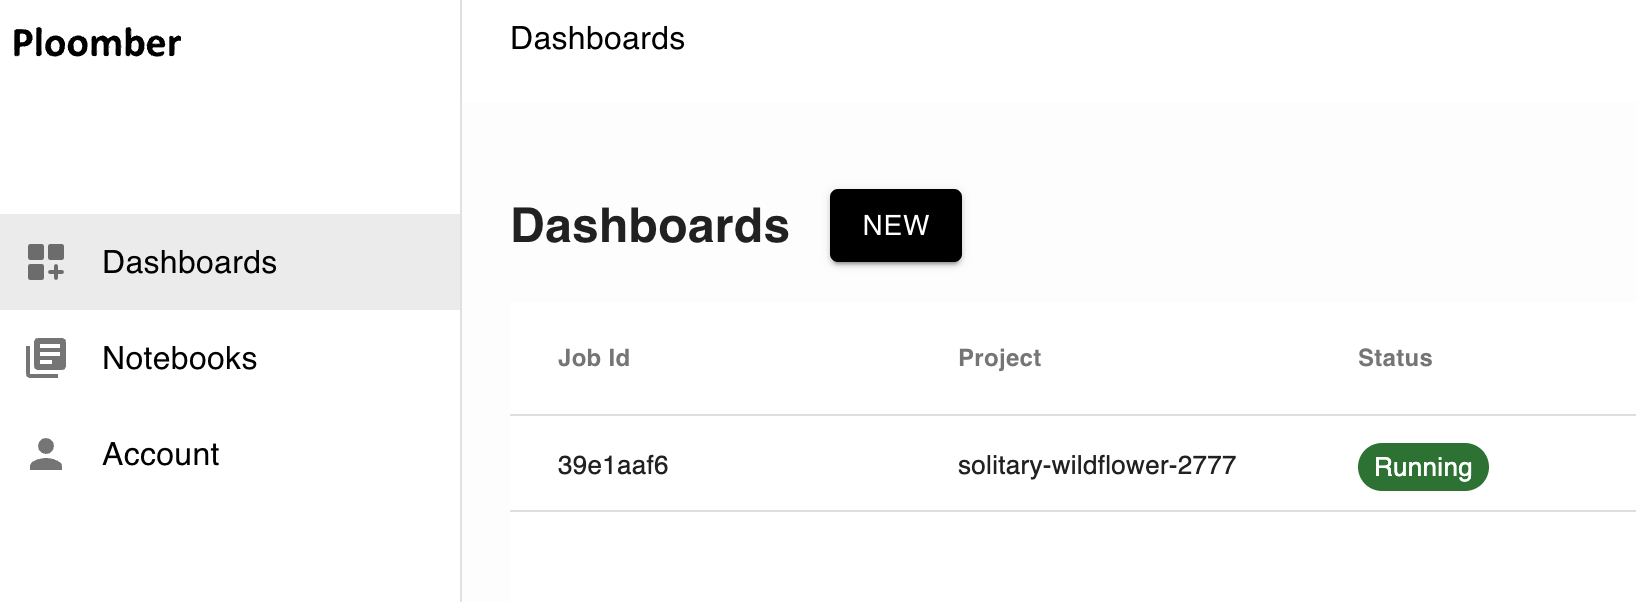
Once you deploy from the terminal, you can monitor deployment through Ploomber Cloud dashboard. The dashboard allows you to monitor the status of your project, and manage it through the dashboard. You can also use the CLI to manage your project:
We will develop a class that will allow us to chat with a CSV file. The class will have the following methods:
__init__: Initializes the class with a connection to a database and a SQL magic function.gen_name: Generates a unique filename for the CSV file.load_data: Loads data into a SQL table.import uuid
from sql import run, inspect
class DataManagement:
def __init__(self, conn, sqlmagic):
self.conn = conn
self.sqlmagic = sqlmagic
def gen_name(self):
return str(uuid.uuid4())[:8] + ".csv"
def load_data(self, name):
run.run_statements(self.conn, "drop table if exists my_data", self.sqlmagic)
run.run_statements(
self.conn, f"create table my_data as (select * from '{name}')", self.sqlmagic
)
return inspect.get_columns("my_data")
def delete_data(self):
run.run_statements(self.conn, "drop table if exists my_data", self.sqlmagic)
We will use the SQLAlchemy library to interact with the database. The library provides a Pythonic interface to SQL databases, allowing us to interact with the database using Python objects. We will use the sql module to run SQL statements and inspect tables. Through the InteractiveShell, we will be able to run SQL statements in the notebook.
The class is using the duckdb database engine. We will use the duckdb database engine to run SQL statements and inspect tables. The duckdb database engine is a lightweight, in-memory database engine that is designed for data science applications. It is a fast, lightweight, and easy-to-use database engine that is designed for data science applications. Note that you can use different databases through the connection string. For example, you can use sqlite or postgresql instead of duckdb.
from sqlalchemy import create_engine
from sql.connection import SQLAlchemyConnection
from sql.magic import SqlMagic, load_ipython_extension
from IPython.core.interactiveshell import InteractiveShell

class SQLIntegration:
    def __init__(self):
        self.ip = InteractiveShell()
        self.sqlmagic = SqlMagic(shell=self.ip)
        self.sqlmagic.feedback = 1
        self.sqlmagic.autopandas = True
        load_ipython_extension(self.ip)
        self.conn = SQLAlchemyConnection(create_engine("duckdb://"), config=self.sqlmagic)
We will use the openai Python library to interact with GPT-4. The library provides a Pythonic interface to GPT-4, allowing us to interact with the model using Python objects. We will use the ChatCompletion.create class to send prompts to the model and process the responses. We begin by definining the instructions through a prompt template:
import openai

openai.api_key = # enter your key through environment variable credential management


prompt_template = """
This is the schema for the my_data table:

{}

I'll start prompting you and I want you to return SQL code.

If you're asked to plot a histogram, you can return: %sqlplot histogram NAME
If you're asked to plot a boxplot, you can return: %sqlplot boxplot NAME

If you're asked to plot a histogram for rows where column=value, you can
return %sql --save snippet SELECT rows where column=value; %sqlplot histogram --table snippet --column NAME

If you're asked to plot a boxplot for rows where column=value, you can
return %sql --save snippet SELECT rows where column=value; %sqlplot boxplot --table snippet --column NAME

And replace NAME with the column name, do not include the table  name
"""
We will build a custom class called State - this is a key component in a web application using the Solara framework, designed for efficient state management. It’s crucial for a few reasons:
Reactive State Variables: It keeps track of the application’s dynamic states, like data loading status and error handling, using reactive variables. This reactivity ensures the UI updates automatically in response to state changes.
Data Handling Methods: The static methods load_sample and load_from_file streamline data loading and processing, crucial for applications dealing with dynamic data sources. These methods will enable users to load data from a URL or upload a CSV file regardless of the class initialization.
Integration with GPT models: The static method chat_with_gpt3 method facilitates interaction with OpenAI’s GPT-3, enabling advanced features like generating SQL queries from natural language inputs. This function can be changed to use other GPT models, such as GPT-4.
Application Responsiveness: By managing state transitions and data interactions effectively, it enhances the overall user experience, making the application responsive and intuitive.
Here is an implementation:
import solara

class State:
    initial_prompt = solara.reactive("")
    sample_data_loaded = solara.reactive(False)
    upload_data = solara.reactive(False)
    upload_data_error = solara.reactive("")
    results = solara.reactive(20)
    input = solara.reactive("")
    loading_data = solara.reactive(False)

    @staticmethod
    def load_sample():
        State.reset()
        name = gen_name()
        State.loading_data.value = True
        url = (
            "https://raw.githubusercontent.com/mwaskom/seaborn-data/master/penguins.csv"
        )
        response = requests.get(url)
        if response.status_code == 200:
            with open(name, "wb") as f:
                f.write(response.content)
            cols = load_data(name)
            State.sample_data_loaded.value = True
            State.loading_data.value = False
            State.initial_prompt.value = prompt_template.format(cols)
        else:
            solara.Warning("Failed to fetch the data. Check the URL and try again.")

    @staticmethod
    def load_from_file(file):
        if not file["name"].endswith(".csv"):
            State.upload_data_error.value = "Only csv files are supported"
            return
        State.reset()
        name = gen_name()
        State.loading_data.value = True
        try:
            df = pd.read_csv(file["file_obj"])
            df.columns = df.columns.str.strip()
            df.columns = df.columns.str.replace(" ", "_")
            df.to_csv(name, index=False)
            cols = load_data(name)
            State.upload_data.value = True
            State.loading_data.value = False
            State.initial_prompt.value = prompt_template.format(cols)
        except Exception as e:
            State.upload_data_error.value = str(e)
            return
        State.upload_data_error.value = ""

    @staticmethod
    def reset():
        State.sample_data_loaded.value = False
        State.upload_data.value = False
        delete_data()
        State.initial_prompt.value = ""
        State.upload_data_error.value = ""

    @staticmethod
    def chat_with_gpt3(prompts):
        response = openai.ChatCompletion.create(
            model="gpt-3.5-turbo",
            messages=[
                {"role": "system", "content": State.initial_prompt.value},
                {"role": "user", "content": "Show me the first 5 rows"},
                {"role": "assistant", "content": "SELECT * FROM my_data LIMIT 5"},
            ]
            + [{"role": prompt.role, "content": prompt.content} for prompt in prompts],
            temperature=0.1,
            stream=True,
        )

        total = ""
        for chunk in response:
            part = chunk["choices"][0]["delta"].get("content", "")
            total += part
            yield total
With Solara, we can use the @solara.component decorator - this is applied to functions or classes to indicate that they are components within the Solara framework. Essentially, it transforms the function or class into a reusable UI component. These components can then be used to construct and render parts of the web application’s interface, allowing for modular and maintainable design patterns.
Here is a sample implementation:
import solara

@solara.component
def my_component():
    return solara.html.H1("Hello World!")
Let’s create a few components for our app:
Chat: It manages a chat interface where users interact, likely with an AI backend like GPT-3 for SQL queries generation. The function sets up styles for the chat input area, initializes a state for messages, and contains a nested function ask_chatgpt to handle user input and process responses from GPT-3. The chat component dynamically updates with user queries and system responses, showcasing interactive features like data visualization (histograms, boxplots) and SQL query execution. This functionality significantly enhances user engagement by allowing natural language interactions with data.
Page: It serves as the main layout of a data querying and visualization web application. It displays the application’s title, a brief description of its functionality, and interactive elements for user interaction. The function provides buttons for loading sample data and clearing the dataset, a file drop area for uploading CSV files, and displays the status of data loading. It also dynamically shows data tables or error messages based on the application’s state. This function essentially organizes the UI elements and integrates the application’s functionality into a cohesive user interface.
Layout: It is responsible for structuring the layout of the web application. It utilizes Solara’s routing capabilities, indicated by solara.use_route(), to manage navigation within the app. The function returns an application layout (solara.AppLayout) which contains the children components passed to it. This is a flexible and concise way to define the overall layout of the application, where children can be any set of components that make up the content of the app, allowing for modular and dynamic UI construction.
As the application grows in complexity, it becomes increasingly important to organize the codebase into reusable components. This approach allows for a more maintainable and scalable design, where components can be reused across different parts of the application. It also enables a more modular approach to development, where components can be developed and tested independently before being integrated into the larger application.
You can find a complete implementation of the components here.
You can try out this application with Ploomber cloud.
To get started with this app, follow these steps:
Login to your Ploomber Cloud account.
Follow the steps for deploying a Solara application and upload the app.zip file provided in the example. Ensure to add your own openai API Key in app.py file.
In this mini project, we have shown how to build an app that integrates Large Language Models (LLMs) with traditional data analysis tools. The app allows users to engage with their data sets through natural language queries, simplifying the process of data analysis and making it more accessible to a wider range of users. The app bridges the gap between complex SQL queries and user-friendly data interaction, offering a straightforward way to analyze and visualize data.
Seamless deployment for data scientists and developers. Ploomber handles infrastructure so you focus on building. Secure and scalable—from personal projects to enterprise apps. Support for Streamlit, Dash, Docker, and AI-powered applications. Because life's too short for deployment headaches.

