


When writing an application, it is sometimes optimal to incorporate another application of a different framework to enhance its functionality. For example, incorporating Dash apps into a Flask application allows developers to harness the powerful data visualization and analytics capabilities of Plotly’s Dash while leveraging the robust web development framework of Flask. In this guide, we will explore how to integrate multiple Dash apps within a Flask application, providing a structured approach to building scalable and maintainable data-driven web applications. Whether you’re developing internal dashboards or public-facing applications, doing so can enhance your project’s functionality and user experience.
We will explore two approaches: directly hosting your Dash apps within your Flask application, which is more suitable for integrating a small number of Dash apps, or utilizing middleware to dispatch your apps separately, which is more effective for managing a larger number of Dash apps.
Setting up a virtual environment for development is always a good practice. We will create and activate a conda environment. You can alternatively use venv. In your terminal, execute the following:
conda create --name your_venv python=3.11 --yes
conda deactivate # Only if necessary. Make sure that you are not already in any other environment before activating.
conda activate your_venv
You can verify that you are in the virtual environment by executing which python, which should print out:
/path/to/miniconda3/envs/your_venv/bin/python
Your requirements.txt should contain the following packages:
dash
flask
gunicorn
pandas
In the virtual environment, install all necessary packages
python3 -m pip install -r requirements.txt
We will build two sample Dash apps to connect to our Flask instance. The first is a simple application that displays a bar chart with some random data. The second is an application that displays the population growth trend throughout the years of any country in the world, based on your choice in a dropdown.
Instead of creating the Dash server instances directly, we will write wrapper functions that initialize a Dash instance, specify its layout and callbacks, and return its server. These initialization functions promote better reusability, as unlike a directly created Dash instance, we can directly pass variables from our Flask instance to configure our Dash app as long as we execute the functions in the Flask application context.
A Dash initialization function will include the following steps:
routes_pathname_prefix, which defines the URL path that the Dash app will use for its internal routes on the Flask server. The host Flask server and all of its internal routes will be exposed to the users in this approach. You can pass the Flask server instance in this step by using Flask’s g object, which will store and pass around data within an application context.routes_pathname_prefix won’t work here. You will instead need to specify a pathname in request_pathname_prefix, which defines the URL path that the middleware should use to access our Dash app in any request it sends.g object in the Flask app context.Callbacks define how changes in the input components trigger updates in the output components, enabling real-time data updates, visualizations, and interactions. Here is an example in Dash:
# Output: dynamic change in Dash layout based on user input.
# Input: user input.
@app.callback(
    Output("graph-content", "figure"),
    Input("dropdown-selection", "value")
)

def update_graph(value):
    dff = df[df.country == value]
    return px.line(dff, x="year", y="pop")
This callback function will change the figure attribute in the HTML tag with id graph-content whenever the user makes change to the value attribute of the tag with id dropdown-selection. To be specific, it will change the display on a graph based on your input in the dropdown list. Callbacks like this are crucial in making a Dash app interactive and dynamic. Below is an example of a callback in action:
Callbacks are directly linked to the app instance, in our example app.callback, hence why we can only initialize them after a Dash instance is established.
We will initialize our callbacks in init_callbacks. For example, the above callback function will be initialized in the following format:
def update_graph(value):
    dff = df[df.country == value]
    return px.line(dff, x="year", y="pop")
def init_callbacks(app):
    app.callback(
        Output("graph-content", "figure"),
        Input("dropdown-selection", "value")
    )(update_graph)
You can initialize any number of callbacks you want in init_callbacks.
Two examples are shown below. The apps are stored in a folder named dash_apps. Depending on which approach you are using, you should store the dash_apps folder in a different folder named either host or middleware.
# host/dash_apps/simple_app.py
# or
# middleware/dash_apps/simple_app.py

from dash import dcc, html, Dash
from flask import g
def init_app(url_path):

    # If initializing Dash app using Flask app as host
    app = Dash(server=g.cur_app, url_base_pathname=url_path)

    # End if

    # If initializing Dash app for middleware
    app = Dash(requests_pathname_prefix=url_path)

    # End if

    app.layout = html.Div(children=[
        html.A(id="logout-link", children="Main page", href="/"),
        html.H1("Welcome to my Dash App", style={"textAlign": "center"}),
        html.Div(id="dummy"),
        dcc.Graph(
            id='example-graph',
            figure={
                'data': [
                    {'x': [1, 2, 3], 'y': [4, 1, 2], 'type': 'bar', 'name': 'Category 1'},
                    {'x': [1, 2, 3], 'y': [2, 4, 5], 'type': 'bar', 'name': 'Category 2'},
                ],
                'layout': {
                    'title': 'Dash Data Visualization'
                }
            }
        ),

    ])

    return app.server
# host/dash_apps/population.py
# or
# middleware/dash_apps/population.py

from dash import Dash, html, dcc, callback, Output, Input
import plotly.express as px
import pandas as pd
import ssl
from flask import g

ssl._create_default_https_context = ssl._create_unverified_context

def init_app(url_path, server=None):
    global df

    # If initializing Dash app using Flask app as host
    app = Dash(server=g.cur_app, url_base_pathname=url_path)

    # End if

    # If initializing Dash app for middleware
    app = Dash(requests_pathname_prefix=url_path)

    # End if

    # Access the variables defined in the main Flask instance using g object.
    df = g.df

    app.title = "Population by country - Ploomber Cloud Dash Application"

    app.layout = html.Div(
        [
            html.A(id="logout-link", children="Main page", href="/"),
            html.H1(children="Population by country", style={"textAlign": "center"}),
            dcc.Dropdown(df.country.unique(), "Canada", id="dropdown-selection"),
            dcc.Graph(id="graph-content"),
        ]
    )

    init_callbacks(app)
    return app.server


def update_graph(value):
    dff = df[df.country == value]
    return px.line(dff, x="year", y="pop")

def init_callbacks(app):
    app.callback(
        Output("graph-content", "figure"),
        Input("dropdown-selection", "value")
    )(update_graph)
Two prominent approaches to incorporating Dash apps into a Flask application are direct hosting and middleware. Let’s look at both of them in the following subsections.
A Dash app is hosted on a Flask app specified by its server argument. If no argument is given, it will spawn its own Flask server (see the documentation). This means that you can choose to directly host your Dash apps on your Flask instance.
When initializing the Dash apps, assign the server variable to your Flask instance and specify the pathname of your Dash apps on the server. Refer to the Dash implementation example above.
In the host folder, create app.py, which contains your main Flask code, and add the following code:
#host/app.py

from flask import Flask, render_template_string, g
import ssl
import pandas as pd
from dash_apps import simple_app, population
app = Flask(__name__)

with app.app_context():
    # Define Flask context variables to be used in apps.
    # In this case, we define the dataframe used in the Population app (df)
    # and the Flask instance to be passed to both apps (cur_app)
    g.df = pd.read_csv(
        "https://raw.githubusercontent.com/plotly/datasets/master/gapminder_unfiltered.csv"
    )

    g.cur_app = app

    # Add Dash app to Flask context. Specify the app's url path and pass the flask server to your data
    app = simple_app.init_app("/simple_app/")
    app = population.init_app("/population/")

@app.route("/")
def home():
    return render_template_string(f"""
        <h1>Main Flask App</h1>
        <h2>Select your Dash App</h2>
        <ul>
            <li><a href:'/simple_app/'>Simple App</a></li>
            <li><a href:'/population/'>Population</a></li>
        </ul>"""
    )
And that’s it! If you run your app on localhost, you can access your apps at localhost/simple_app/ and localhost/population/ or by clicking their respective links on the main page. More details on testing here
You can also add additional apps to the context, e.g. app = your_dash_app.init_app("/your_dash_app/") if the new app is in your_dash_app.py. Next, add its URL as li on the home template. For example:
with app.app_context():
    ...
    app = your_dash_app.init_app("/your_dash_app/")

@app.route("/")
def home():
    return render_template_string(f"""
        <h1>Main Flask App</h1>
        <h2>Select your Dash App</h2>
        <ul>
            ...
            <li><a href:'/your_dash_app/'>Your App Name</a></li>
        </ul>"""
    )
This simple and straightforward approach is well-suited for projects of smaller scale. However, it can become less scalable as the application grows, potentially leading to Flask server resource exhaustion. To remedy this issue, we will now look at the middleware approach.
The middleware, in a web application framework like Flask, refers to a software that bridges the communication and data exchange between two applications or layers. This approach involves using a WSGI middleware to mount multiple Dash apps onto a single Flask app. Each Dash app can be configured independently and can run in isolation from others.
The official Flask documentation recommends using the DispatcherMiddleware function from the werkzeug library, thus we will be doing the same. In app.py, add the following code:
from flask import Flask, render_template_string
from werkzeug.middleware.dispatcher import DispatcherMiddleware
from dash_apps import simple_app, population

# Initialize Flask server
flask_app = Flask(__name__)

with flask_app.app_context():
    # Define Flask context variables to be used in apps.
    # In this case, we define the dataframe used in the Population app (df)
    # and the Flask instance to be passed to both apps (cur_app)
    g.df = pd.read_csv(
        "https://raw.githubusercontent.com/plotly/datasets/master/gapminder_unfiltered.csv"
    )

    # Integrate Flask and Dash apps using DispatcherMiddleware
    # The app becomes a Middleware instance, which will default to the
    # routes in the Flask app if the URL is not found among the mounted
    # Dash apps
    app = DispatcherMiddleware(flask_app, {
        "/simple_app": simple_app.init_app("/simple_app/"),
        "/population": population.init_app("/population/")
    })

@flask_app.route("/")
def home():
    return render_template_string(f"""
        <h1>Main Flask App</h1>
        <h2>Select your Dash App</h2>
        <ul>
            <li><a href:'/simple_app/'>Simple App</a></li>
            <li><a href:'/population/'>Population</a></li>
        </ul>"""
    )
If you run your app on localhost, you can access your Dash apps at localhost/simple_app/ and localhost/population/ or by clicking their corresponding links on the main page. More details on testing here
You can also add additional apps to the context, e.g. adding '/your_dash_app': init_app("/your_dash_app/") to the dictionary passed to DispatcherMiddleware. Next, add its URL as li on the home template. For example:
# Integrate Flask and Dash apps using DispatcherMiddleware
app = DispatcherMiddleware(flask_app, {
    ...,
    "/your_dash_app": init_app("/your_dash_app/")
})

@flask_app.route("/")
def home():
    return render_template_string(f"""
        <h1>Main Flask App</h1>
        <h2>Select your Dash App</h2>
        <ul>
            ...
            <li><a href:'/your_dash_app/'>Your App Name</a></li>
        </ul>"""
    )
This approach shines when dealing with a large number of Dash apps, as each app is an independent instance instead of being hosted on the Flask instance. However, using an external library naturally introduces additional complexity and overhead, and may be an overkill for smaller projects. It is also important to note that this approach will return a Middleware instance instead of a Flask instance.
You may have noticed that Flask’s application context is leveraged to simplify the configuration process of the Dash apps. Let’s look into it.
The application context in Flask is a construct that holds data for the duration of a request or command, ensuring that variables and configurations are accessible across different parts of the application during its lifecycle. Using this approach, we initialize our Dash apps within the Flask application context and leverage it to share data and configurations across Dash apps. Using Flask’s g object, we can store data during an application context and use them when initializing each Dash app in its wrapper function. In our example, we will utilize the g object to pass g.df and g.cur_app to our Dash apps.
We will initialize the Dash app within Flask’s app_context(). This way, the Dash apps will be initialized in the Flask context and gain access to the shared data as we discussed.
Currently, if we want to add additional Dash apps, we need to make significant modifications to our code, as shown above. In this section, we will simplify this step.
For the direct hosting approach, we will define a new dictionary DASH_APPS_, a unified location to store the information of each Dash app. It maps the app’s pathname to a tuple containing its initialization function and name. Next, we iterate through DASH_APPS_, initializing the Dash app in the application context and adding the name and pathname to the list item in the home page’s template at each iteration.
In host/app.py, modify the code as follows:
from flask import Flask, render_template_string, g
import ssl
import pandas as pd
from dash_apps import simple_app, population

ssl._create_default_https_context = ssl._create_unverified_context

# Setup Dash apps.
# For key, use your preferred URL for app.
# For value, add initialization function and app name for each app
DASH_APPS_ = {
    '/simple_app': (simple_app.init_app, "Simple App"),
    '/population': (population.init_app, "Population App")
}

app = Flask(__name__)

with app.app_context():
    # Define Flask context variables to be used in apps
    g.df = pd.read_csv(
        "https://raw.githubusercontent.com/plotly/datasets/master/gapminder_unfiltered.csv"
    )

    g.cur_app = app

    # <li> in the template: URLs to each dash app
    list_items = ""

    for url in DASH_APPS_:
        # Add Dash app to Flask context
        app = DASH_APPS_[url][0](url + "/")
        list_items += "<li><a href=\"" + url + "/\">" + DASH_APPS_[url][1] + "</a></li>\n"

@app.route("/")
def home():
    return render_template_string(f"""
        <h1>Main Flask App</h1>
        <h2>Select your Dash App</h2>
        <ul>
            {list_items}
        </ul>"""
    )
For the middleware approach, the only difference is that we will add the initialized app mapped to its pathname to dash_mw_input, a dictionary that stores the Dash apps to be mounted to the middleware.
In middleware/app.py modify the code as follows:
from flask import Flask, render_template_string, g
from dash_apps import simple_app, population
from werkzeug.middleware.dispatcher import DispatcherMiddleware
import pandas as pd

# Setup Dash apps.
# For key, use your preferred URL for app.
# For value, add initialization function and app name for each app
DASH_APPS_ = {
    '/simple': (simple_app.init_app, "Simple App"),
    '/population': (population.init_app, "Population App")
}

# Initialize Flask server
flask_app = Flask(__name__)

with flask_app.app_context():
    # Define Flask context variables to be used in apps
    g.df = pd.read_csv(
        "https://raw.githubusercontent.com/plotly/datasets/master/gapminder_unfiltered.csv"
    )

    # List of Dash apps to add as middleware
    dash_mw_input = {}

    # <li> in the template: URLs to each dash app
    list_items = ""

    for url in DASH_APPS_:
        # Add pathname: dash_app mapping to middleware.
        dash_mw_input[url] = DASH_APPS_[url][0](url + "/")

        # Add name and pathname to <li>
        list_items += "<li><a href=\"" + url + "/\">" + DASH_APPS_[url][1] + "</a></li>\n"

    # Integrate Flask and Dash apps using DispatcherMiddleware
    app = DispatcherMiddleware(flask_app, dash_mw_input)

@flask_app.route("/")
def index():
    return render_template_string(f"""
        <h1>Main Flask App</h1>
        <h2>Select your Dash App</h2>
        <ul>
            {list_items}
        </ul>""")
Now if you want to add a new app, all you have to do is add to the DASH_APPS_ dictionary, e.g.
from dash_apps import ..., your_dash_app

DASH_APPS_ = {
    ...,
    '/your_dash_app': (your_dash_app.init_app, "Your New App Name")
}
You can use an iframe to directly embed a different website or web application on your page, including a Dash app. This is often not recommended as it’s very hacky and introduces security and performance issues.
To test the app locally, go to the project folder (host or middleware), run gunicorn app:app run --bind 0.0.0.0:80
You should be able to access the content by visiting 0.0.0.0:80. Screenshots of the Flask app are shown here. To run it yourself, clone the app from this repository.
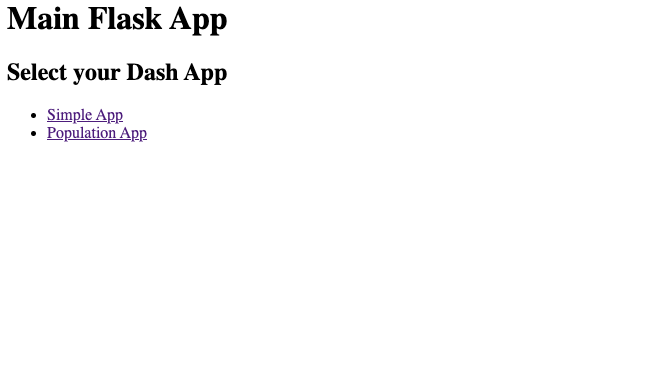 |
|---|
| Main page |
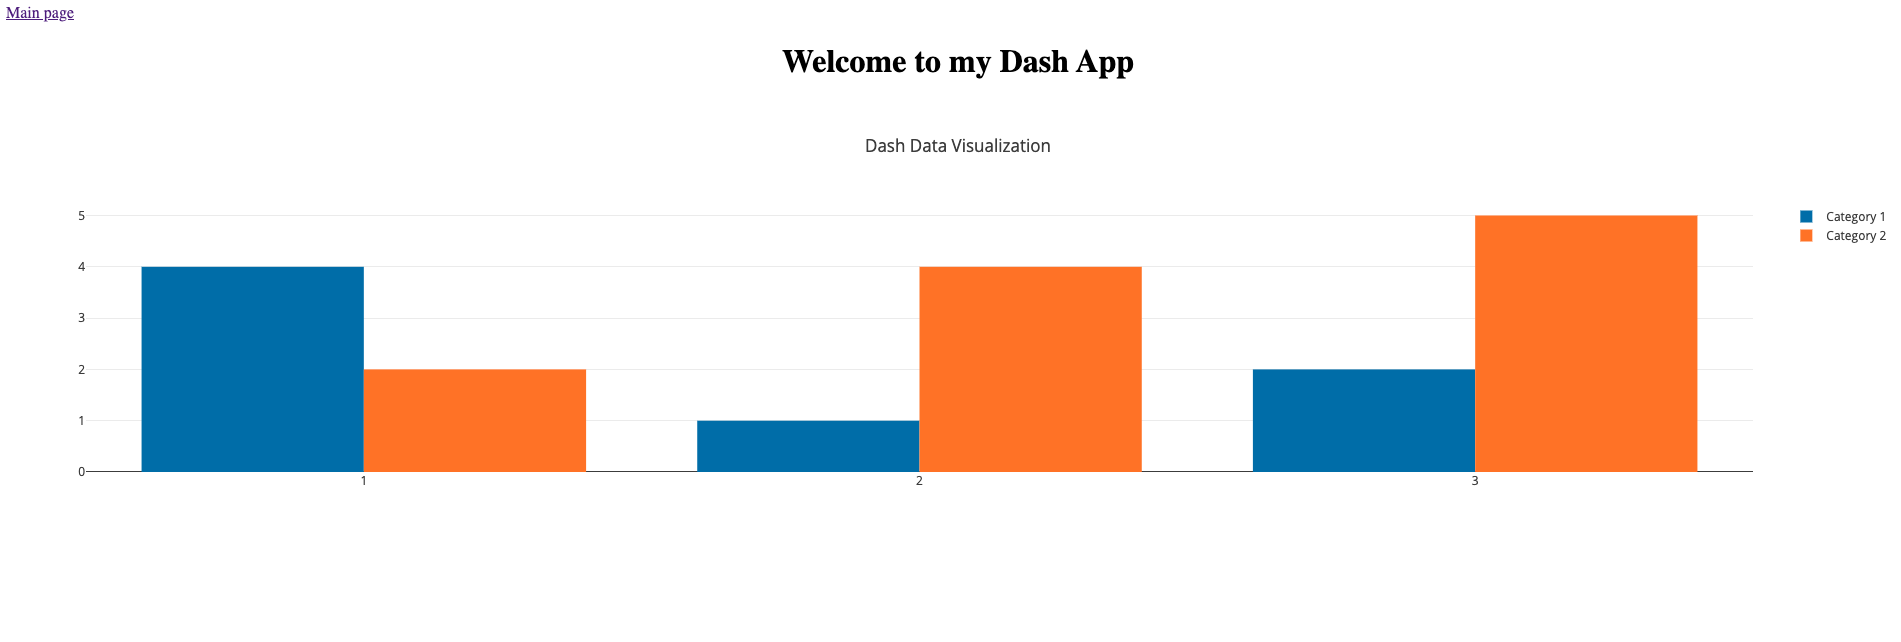 |
|---|
| Dash App 1 (Simple App) |
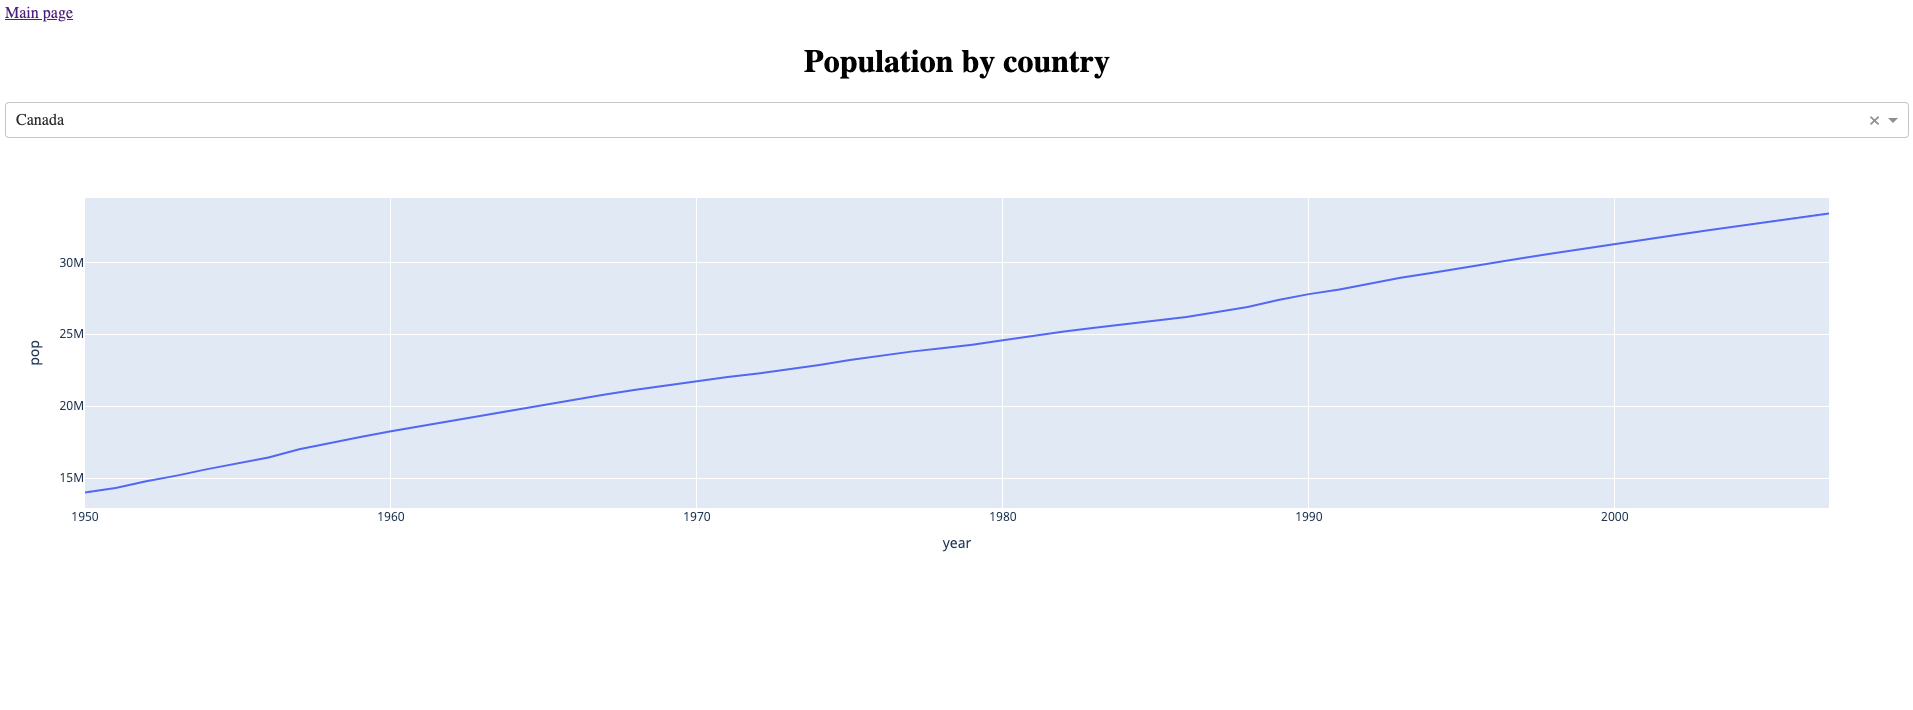 |
|---|
| Dash App 2 (Population) |
To deploy either application on Ploomber, you can use our command-line interface or our website. Go to the folder of the approach you want to test.
cd host
# or if you want to test the middleware approach
cd middleware
You can choose to use our command-line interface to deploy your app. The following files will be necessary:
To deploy, set your API key using ploomber-cloud key YOURKEY (how to find it), then run ploomber-cloud init to initialize the new app and ploomber-cloud deploy to deploy your app. For more details please check our guide.
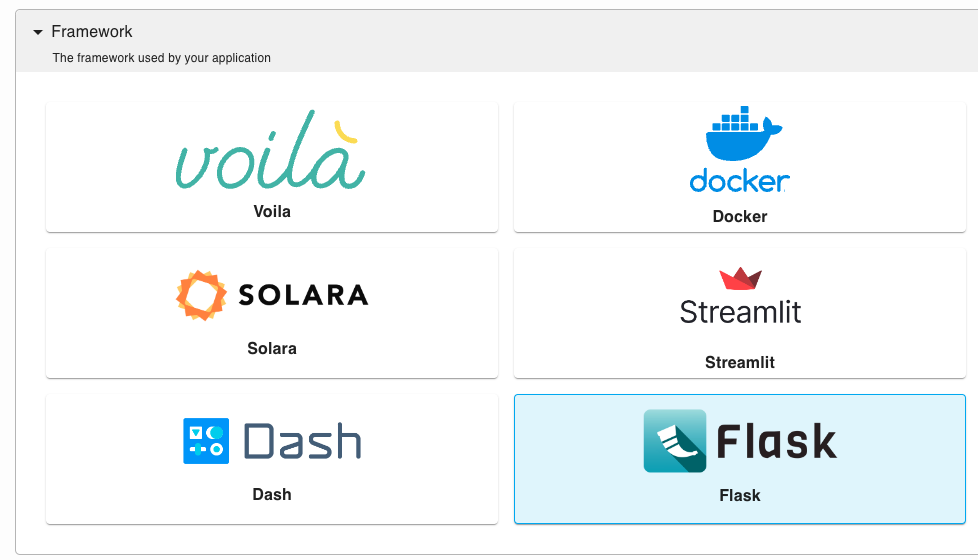
We will use the Flask option to deploy to Ploomber Cloud. First, create a Ploomber Cloud account if you have not done so. To deploy the app, we upload a .zip file containing the following files:
Now that you have your zip file prepared and you are logged into Ploomber Cloud, you should see this screen:
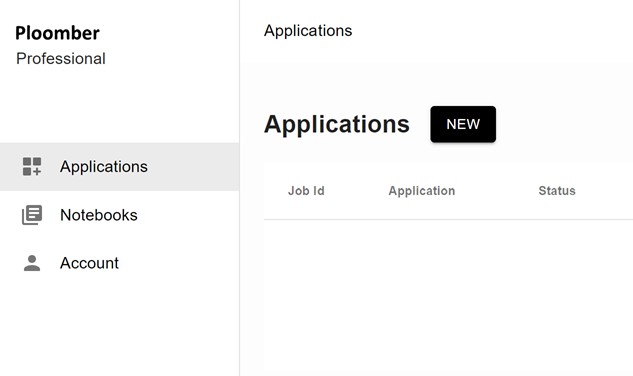
Click on NEW, select Flask under Framework, and upload your zip file.
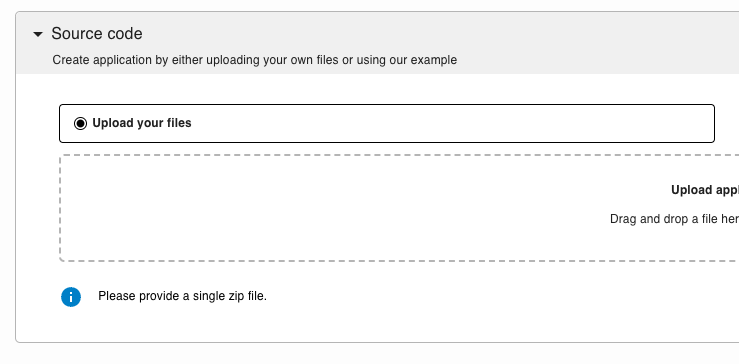
Click Create and the website will automatically deploy. Once it is deployed, you will be able to access the URL.
And there we go! We have implemented two approaches to integrating Dash apps into a Flask app and deployed them to Ploomber Cloud. The middleware approach offers modularity and isolation, making it suitable for larger, more complex projects, while the direct hosting approach simplifies the implementation, making it ideal for smaller projects with fewer Dash apps. Ultimately, both methods offer unique benefits and trade-offs, and the choice between the two largely depends on project-specific requirements.
Seamless deployment for data scientists and developers. Ploomber handles infrastructure so you focus on building. Secure and scalable—from personal projects to enterprise apps. Support for Streamlit, Dash, Docker, and AI-powered applications. Because life's too short for deployment headaches.

