


Containers are a standardized unit of software that allows developers to isolate their app from its environment, solving the “it works on my machine” issue. In this blog post, we will introduce what Docker is and how you can start using it to run your Jupyter notebooks inside containers.
Let’s get into it! 💻
Docker is a software container platform that makes it easy to develop and delopy apps inside a nicely packaged environment. It has some very useful features for data scientists. If you ever thought: “why is this working on my computer but not yours?” or “why can’t I install this package that he/she used?”, then Docker would be a great helper for you. For example, you can use Docker to collaborate on the same project with your coworkers without having to worry too much about environment setups.
The idea behind the process of setting up and running a container for an application is to create a text document that contains all the commands a user could call on the command line to build an image, and once the image is built, Docker runs the container.
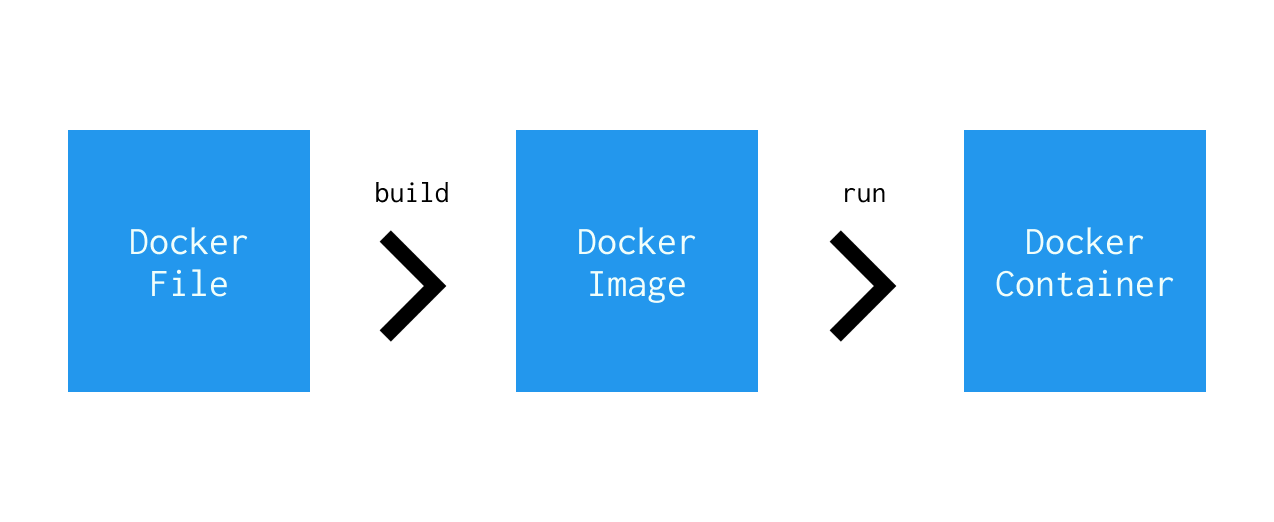
Here are some terminologies if you’re not familiar with Docker:
There are 2 simple steps you need to take in ordrer to run a Docker container for your notebook.
Before we get started, if you haven’t installed Docker on your machine, please do so here.
Once you installed Docker, you should be able to use it directly from your terminal. Let’s test the installation.
In your terminal, if you run docker, you’ll see all commands that you can use:
% docker

Usage:  docker [OPTIONS] COMMAND

A self-sufficient runtime for containers

Options:
      --config string      Location of client config files (default
                           "/Users/wangyuqi/.docker")
  -c, --context string     Name of the context to use to connect to the
                           daemon (overrides DOCKER_HOST env var and
                           default context set with "docker context use")
  -D, --debug              Enable debug mode

  ...
This means that Docker has been correctly installed and it is ready to be used.
First, we’ll create a directory to store the shared notebooks. You can run mkdir ~/notebooks in your CLI to create a directory called “notebooks” in your home directory.
Next, we’ll share this directory between the container and the host in step 2.
Jupyter has created a few Docker images containing Jupyter applications and other tools.
We will use jupyter/minimal-notebook for this tutorial. To get this image, simply run the following command code in your CLI (if this is your first time running this command, it would first pull the latest jupyter/minimal-notebook image from the jupyter DockerHub account):
docker run -p 8888:8888 -v ~/notebooks:/home/jovyan jupyter/minimal-notebook

It then starts a container running a Jupyter Notebook server on port 8888.

Now it’s very similar to running a regular Jupyter notebook, you’ll have a link to the Jupyter localhost server and a given token. TYou should be able to open the highlighted URL in your browser to view your Jupyter Server interface.
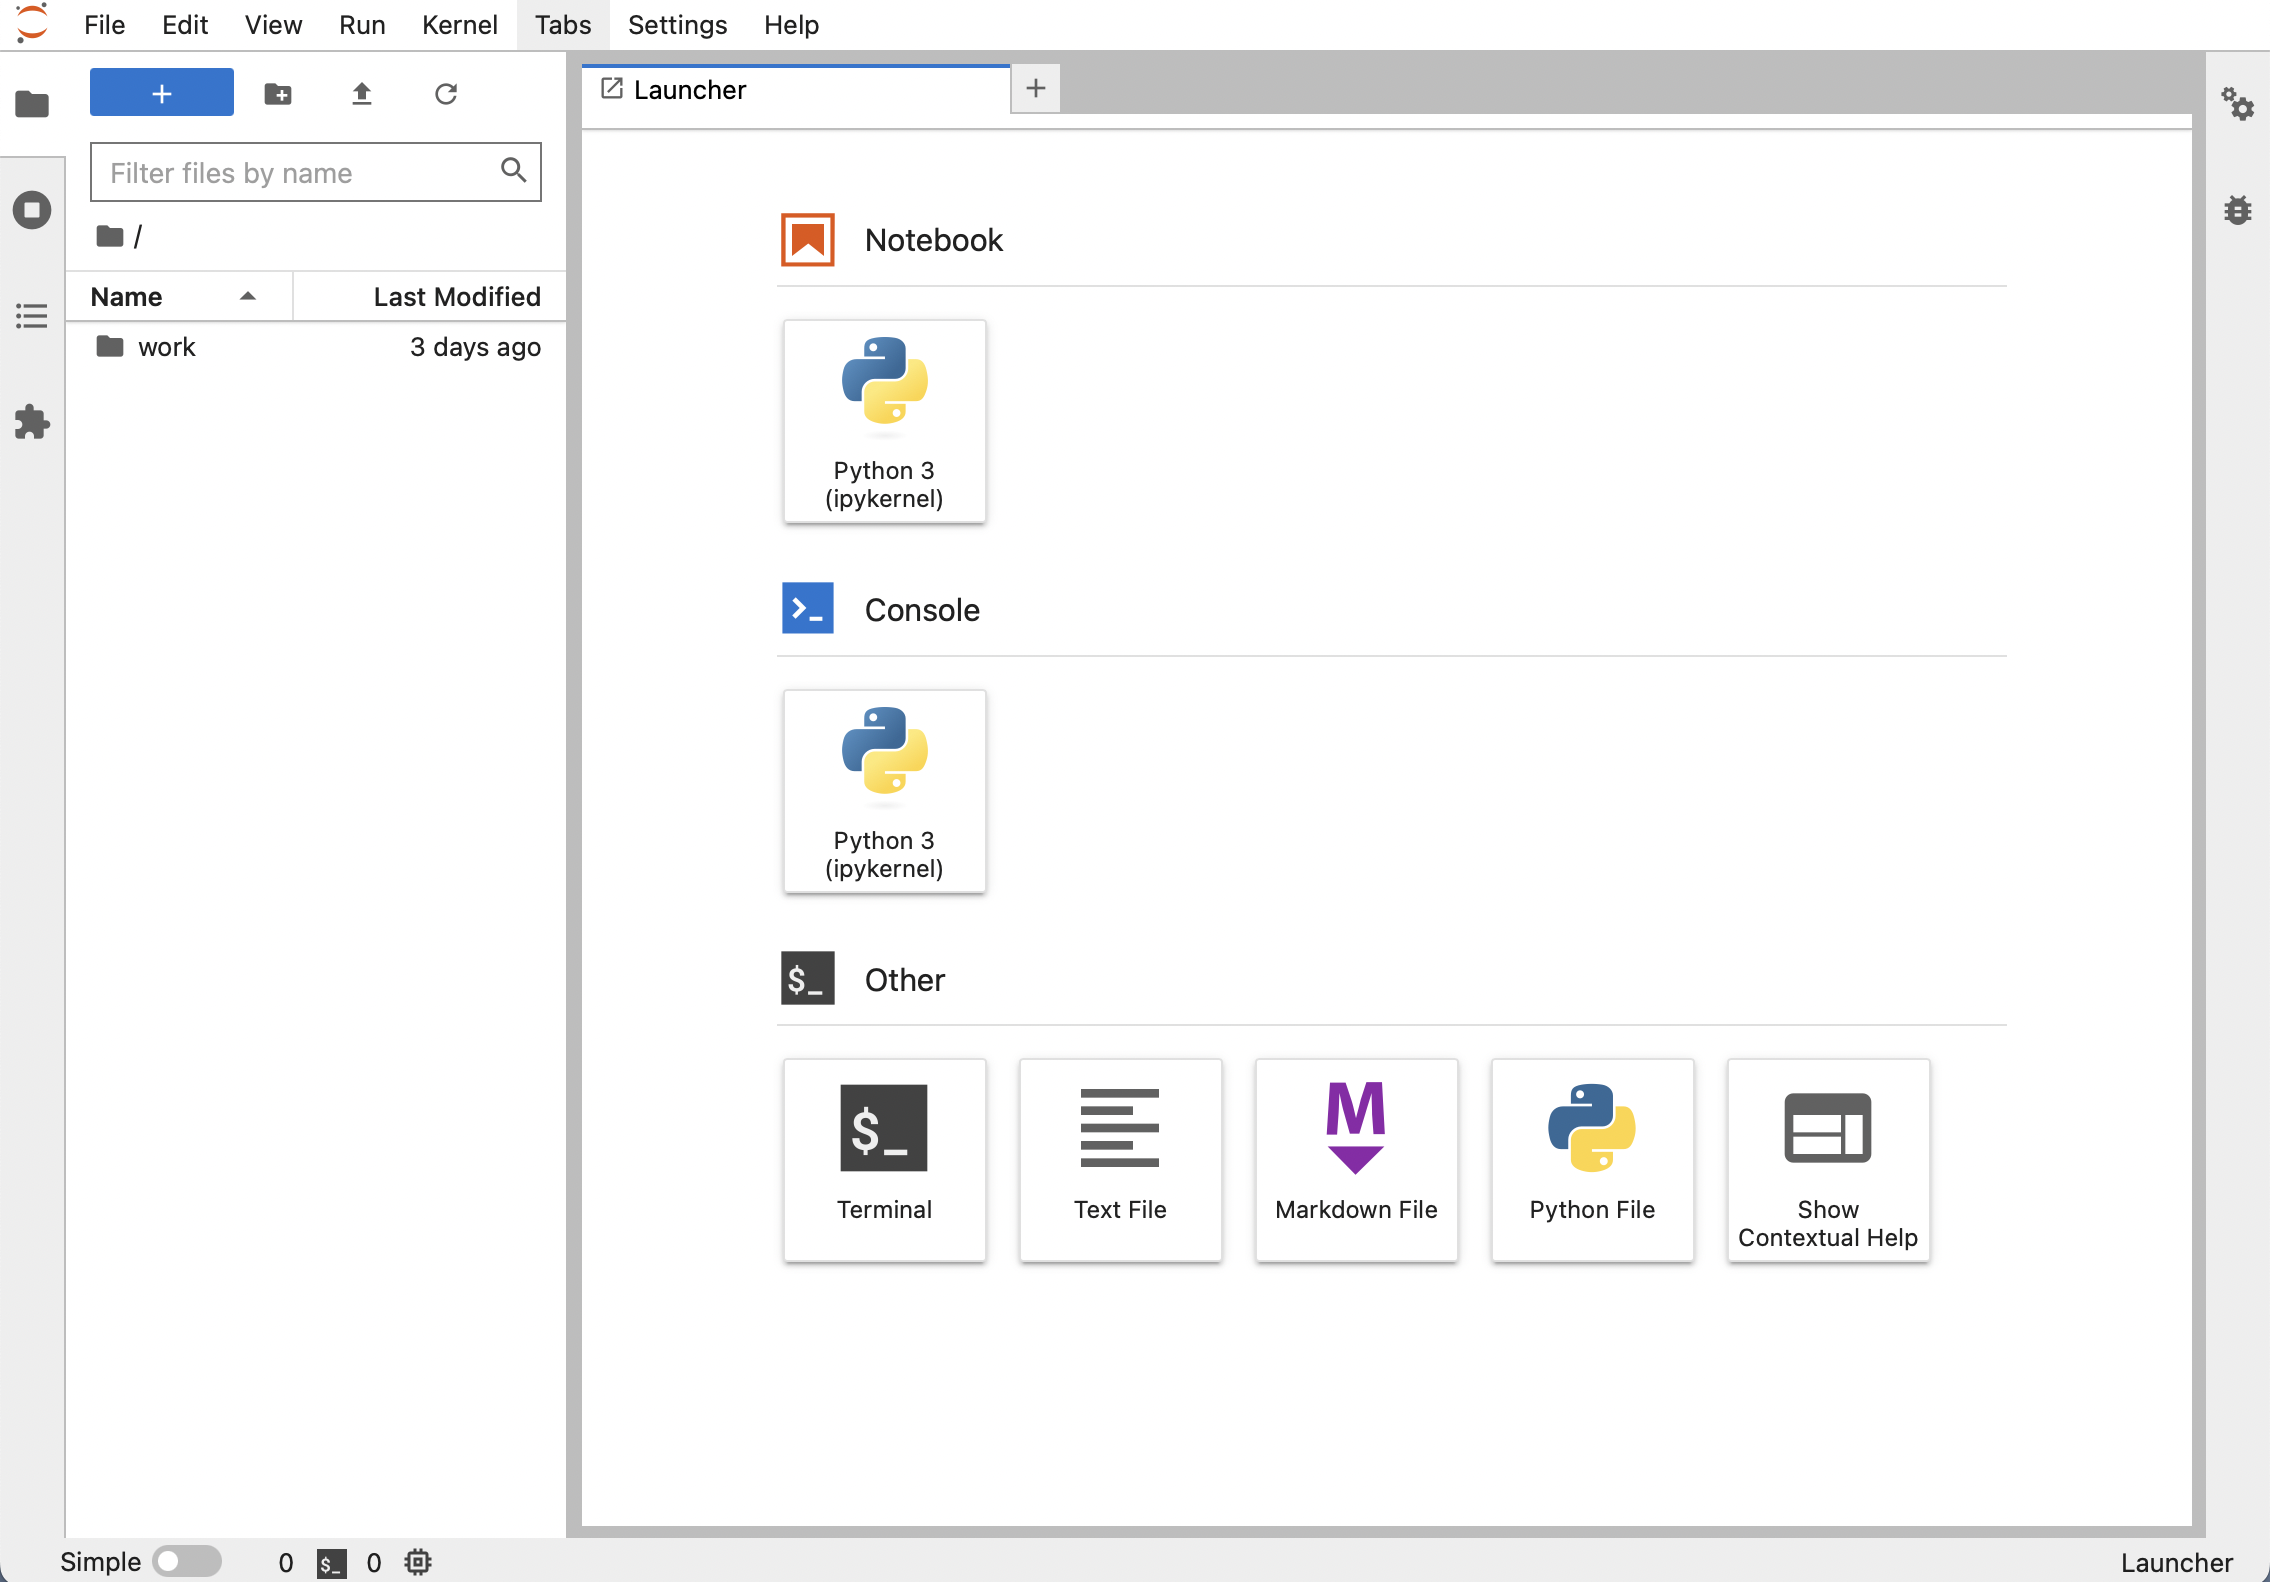
If you see the screen above, you’re successfully developing within the Docker container. And if you create a notebook in the above container server, you should be able to see it locally in your ~/notebook directory as well.
In order to view your currently active container information, you can open another CLI tab and run
docker ps
(in order to view all container information including the inactive ones, you can run docker ps -a.)

To list all the images, simply run
docker images
And to remove images:
docker rmi -f <image-id>               # remove image using image id
docker rmi $(docker images -a -q)      # remove all images
docker rm $(docker ps -a -q)           # remove all containers
As we can see, Docker would be a great tool for data scientists, so that they can avoid the pain of deploying the same project on different machines with different configurations. And we learned about how to run a container for our Jupyter notebook using an image provided by Official Jupyter.
If you want to learn more about Jupyter, Docker or any other data science topics, feel free to join our community, as we constantly share more resources there!
Seamless deployment for data scientists and developers. Ploomber handles infrastructure so you focus on building. Secure and scalable—from personal projects to enterprise apps. Support for Streamlit, Dash, Docker, and AI-powered applications. Because life's too short for deployment headaches.

