


In this tutorial, we’ll show you how to add LDAP authentication to your Shiny app. By the end of the post, you’ll have a Shiny app with LDAP authentication up and running!
Before going into the details, let’s explain at a high level how our solution works.
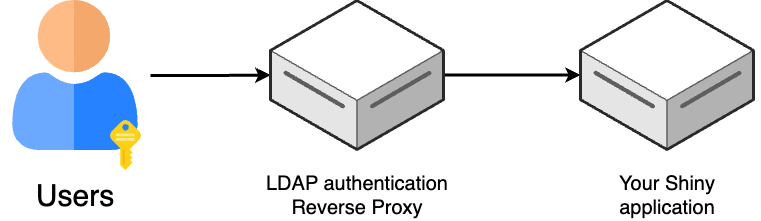
The architecture consists of two components: an LDAP Authentication Reverse Proxy, and your Shiny application. When users try to access your Shiny app, they first interact with the LDAP Authentication Reverse Proxy. This proxy acts as a gatekeeper: it intercepts requests, validates the user’s credentials against an LDAP server, and only forwards authenticated requests to your Shiny application. This setup provides a secure authentication layer without requiring any modifications to your Shiny app’s code.
Ensure you have R and Node.js installed. You can use any installation method you want,
for this blog post, we’ll show you how to install both using conda.
If you want to test this with a test LDAP server, you’ll also need docker-compose
to spin it up; however, if you already have one, you can skip docker-compose.
Next, download the code from GitHub:
git clone https://github.com/ploomber/posts --depth 1
cd posts/shiny-ldap
Let’s first install the requirements in our environment (we need R and Node.js):
# NOTE: you can skip r-base and/or nodejs if you have them installed
# already or if you prefer to install them with another method
conda create --name ldap-r r-base nodejs -c conda-forge -y
Install the R packages and run the Shiny app:
conda activate ldap-r
cd app

# install required dependencies
Rscript install.R

# start shiny app
Rscript startApp.R
Your app should run on: http://localhost:8501
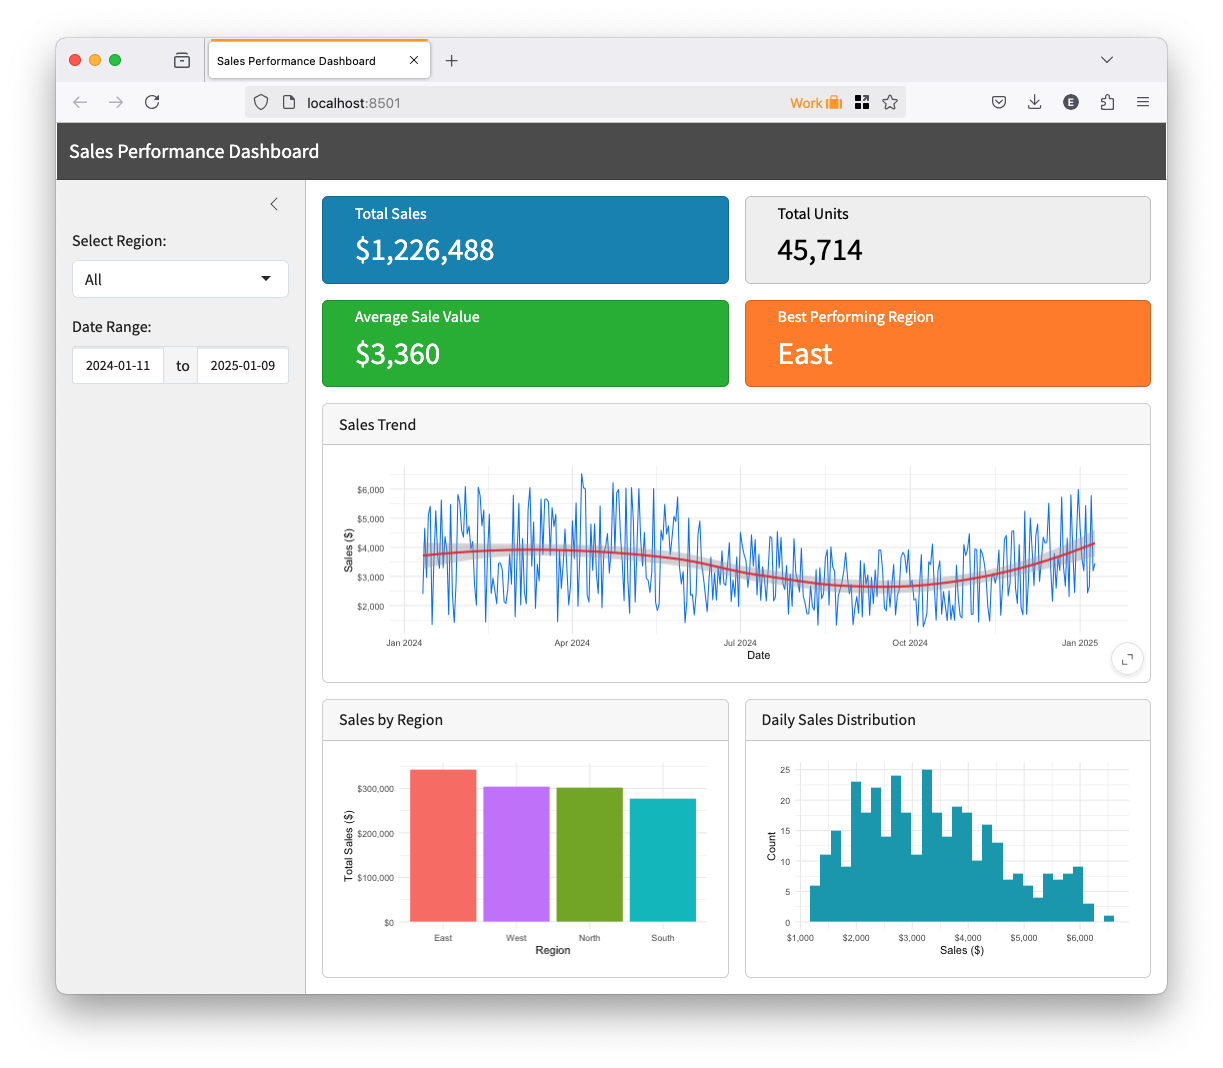
This is our regular Shiny app without authentication. Let’s now add authentication to it!
The sample code includes a docker-compose.yml which spins up a sample LDAP server. Run the following to start it:
# run this in the shiny-ldap directory, which contains the docker-compose.yml file
docker-compose up
The command will take a few seconds, once it finishes, you’ll see the admin panel in the following URL: http://localhost:8080
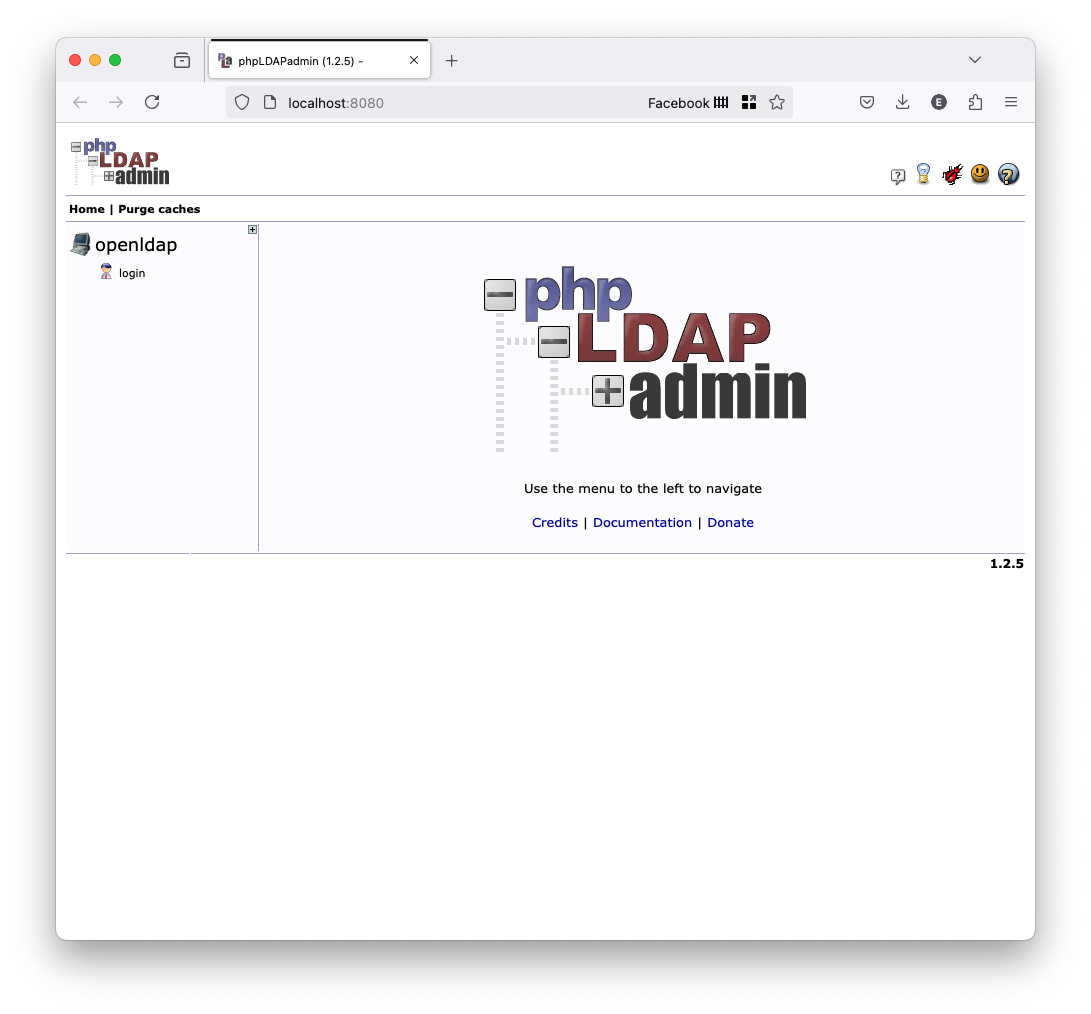
Let’s create a user account. First, click on login on the left, and then enter
the following credentials:
cn=admin,dc=example,dc=comadminThen, perform the following to create a user group:
dc=example,dc=com (on the left)Create a child entryGeneric: Posix Groupusers, click on Create object, and CommitWait for it to Auto refresh... and you’ll see the new users group.
Here’s a video with the steps:
Creating a user group in LDAP admin
Now, let’s create the user account:
Create a child entryGeneric: User AccountJohn DoeUser ID, copy it so you have it handypassword123usersCreate ObjectCommitHere’s a video with the steps:
Creating a user account in LDAP admin
Let’s now start our reverse proxy:
# move to the directory and install dependencies
cd ldap-reverse-proxy
npm install

# start the server
npm run start
The reverse proxy will start running (http://localhost:3000) and you’ll be prompted to log in:
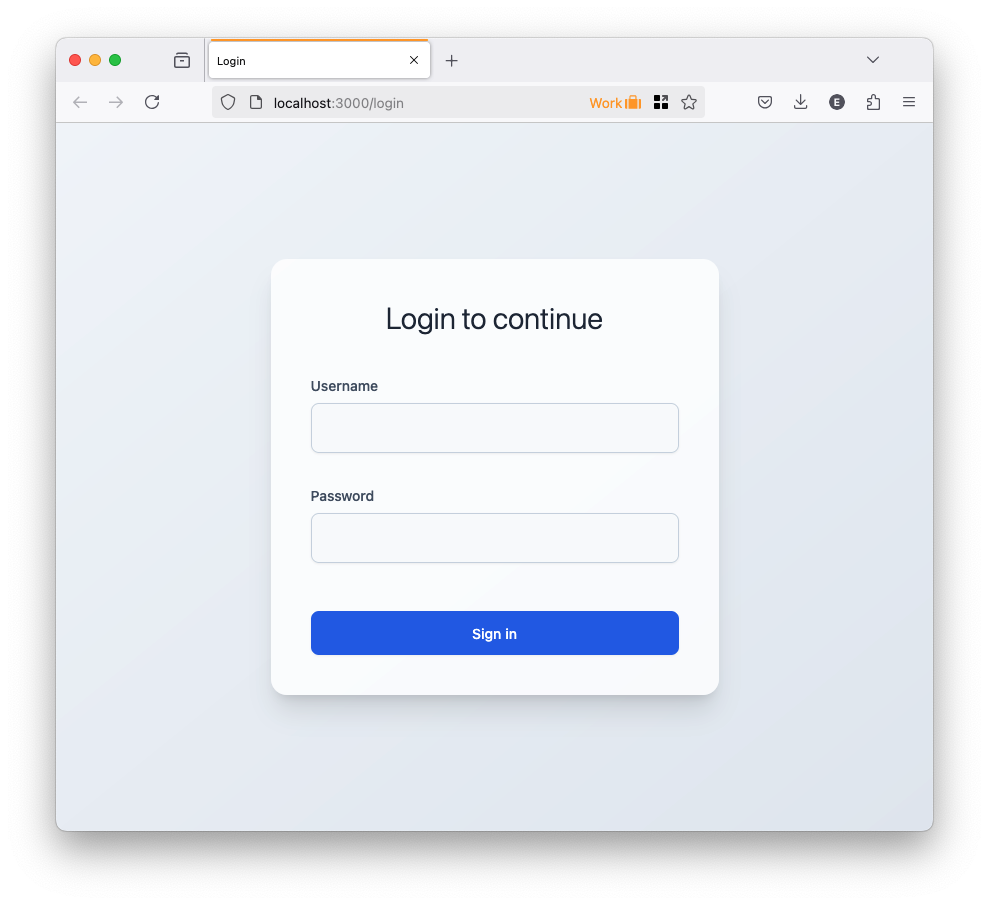
Enter the credentials for the user we created, for example:
jdoepassword123If the credentials are correct, you’ll be able to see the Shiny app! Here’s a demo that shows a successful login, logout and then an attempt to login with incorrect credentials:
Shiny with LDAP authentication
The sample code is just a proof of concept, do not use it in production without carefully reviewing it and adding the necessary security requirements.
We offer enterprise-grade LDAP authentication for Shiny, if you want to learn more, contact us.
Seamless deployment for data scientists and developers. Ploomber handles infrastructure so you focus on building. Secure and scalable—from personal projects to enterprise apps. Support for Streamlit, Dash, Docker, and AI-powered applications. Because life's too short for deployment headaches.

