


You’re ready to share your dashboard with Vizro it with your team? Perfect timing! In this guide, I’ll walk you through deploying a Vizro application with enterprise-grade features like custom domain support and password protection. Don’t worry - it’s easier than you might think.
What We’ll Cover
When deploying a Vizro application, you’ll need two essential files with specific names:
my-vizro-app/
├── ...              # All other files and folders
├── app.py           # To start your main application
└── requirements.txt # Python dependencies
Any additional Python files your dashboard needs can be organized in the same directory.
If you’ve been developing with Vizro, you might have noticed a warning when running python app.py about not using the development server in production. Here’s how to properly structure your app.py for production deployment:
import vizro.models as vm
from vizro import Vizro

# Initialize your dashboard - your code goes here
page = vm.Page(...)
dashboard = vm.Dashboard(pages=[page])

# Create the application instance
app = Vizro().build(dashboard)

# Development server (optional)
if __name__ == "__main__":
    app.run()
The key addition here is server = app.dash.server. This line exposes the underlying Flask server, allowing production WSGI servers like Gunicorn to properly handle your application.
The requirements.txt file lists all Python packages your application needs. While you can create it manually:
vizro==0.1.29
gunicorn==23.0.0
# Add other dependencies...
It’s better to automatically export your current environment’s dependencies. Open your terminal and use one of these commands:
# If using pip/venv
pip freeze > requirements.txt

# If using conda
conda list --export > requirements.txt
Now let’s package our application into a Docker container. Create a new file named Dockerfile in your project directory. Here’s a production-ready configuration with detailed explanations of each step:
FROM python:3.11-slim

WORKDIR /app

# Install dependencies
COPY requirements.txt .
RUN pip install --no-cache-dir -r requirements.txt

# Copy application files
COPY . .

# Configure the container
EXPOSE 80
ENTRYPOINT ["gunicorn", "app:app", "--bind", "0.0.0.0:80"]
Base Image: We use python:3.11-slim because:
>3.8 can be specified)Dependency installation:
requirements.txt fileProduction Server:
If you have Docker installed on your machine, it’s a good idea to test your application locally before deployment. This step helps catch any configuration issues early, but you can skip it if you don’t have Docker installed or prefer to deploy directly.
# Build your Docker image
docker build . -t vizro-app

# Run it locally
docker run -p 5000:80 vizro-app
Visit http://localhost:5000 in your browser to see your dashboard running in a container. This mirrors how it will run in production, giving you confidence that everything is properly configured.
Don’t have Docker? No worries! You can proceed directly to the deployment steps.
Create a ZIP file containing your project folder. Make sure to include:
app.py - Your main application filerequirements.txt - Your dependenciesNew button in the dashboardUpload your Zip
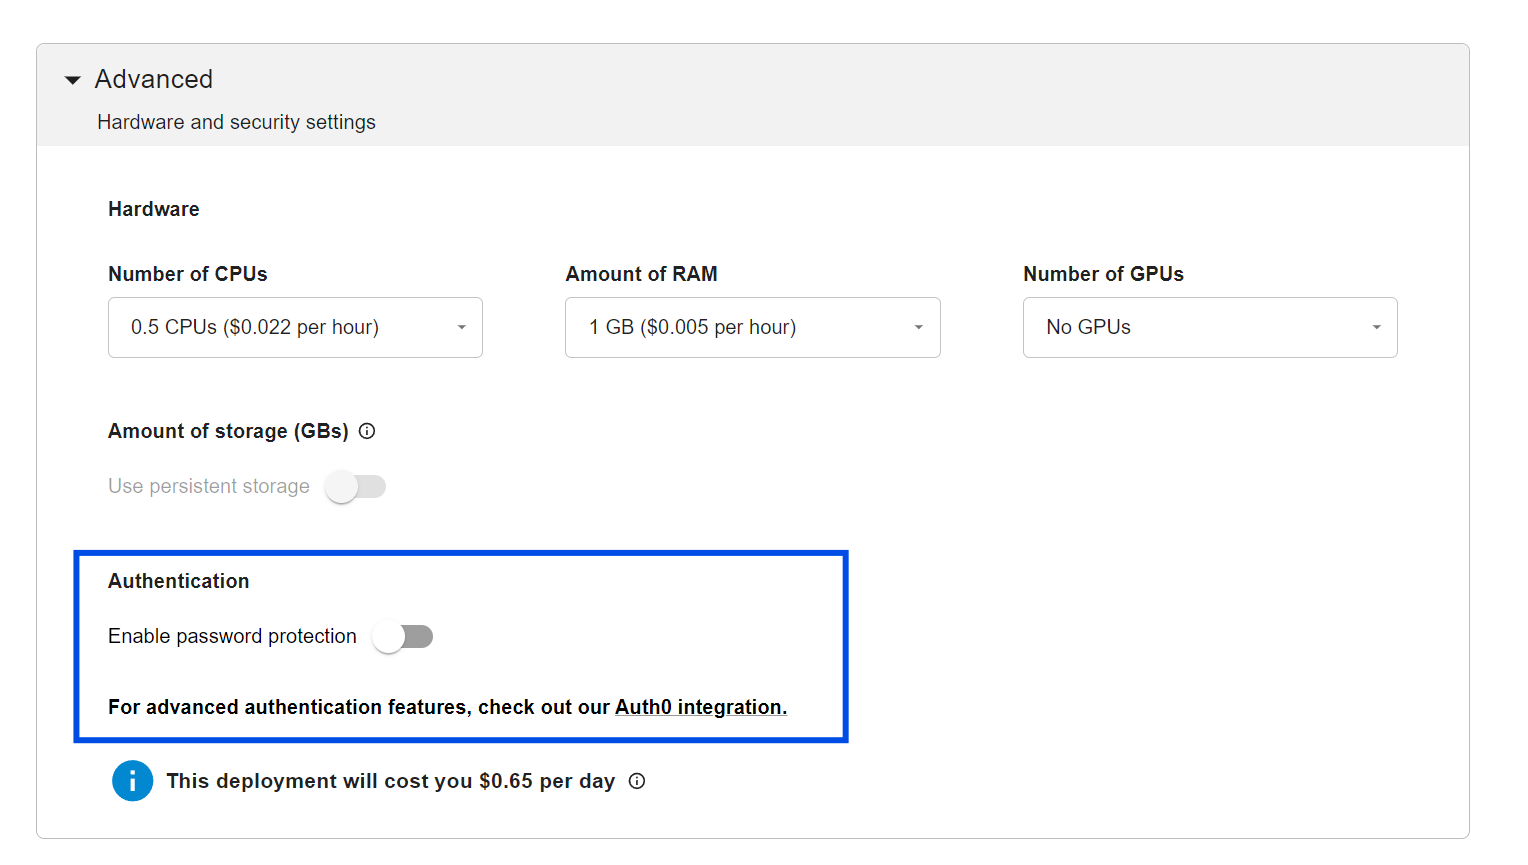
In the Advanced Options section, you can set up authentication:
Click the Create button to deploy your Vizro application. Ploomber Cloud will:
my-vizro-app.zip
├── app.py           # Required
├── requirements.txt # Required
├── Dockerfile       # Required
└── [other files]    # As needed
requirements.txt for:Want to use your own domain for your Vizro dashboard? The process is straightforward and follows the same steps as setting up any custom domain on Ploomber Cloud. Check out our guide: How to Set Up a Custom Domain for Your App.
Your Vizro dashboard is now live! Here’s how you can take it to the next level:
Advanced Deployment Options:
For a quick start, we have a Vizro template repository that includes a working example with all the configurations we’ve covered in this guide.
Seamless deployment for data scientists and developers. Ploomber handles infrastructure so you focus on building. Secure and scalable—from personal projects to enterprise apps. Support for Streamlit, Dash, Docker, and AI-powered applications. Because life's too short for deployment headaches.
